The 7 Elements of Art: From Shapes to Form - Making Drawings Look 3-D
- Art Studio 760
- Dec 31, 2025
- 3 min read

Once kids get comfortable breaking drawings down into big shapes (circles, triangles, and squares), the next exciting step is learning how to make those shapes feel more real. That’s where form comes in.
When students draw from observation, they’re not just copying what they see—they’re learning how to translate a three-dimensional world onto a flat piece of paper. The good news is: they can start creating a 3-D look in their drawings with just a few friendly tools—form, a tiny bit of perspective, and simple shading.
Over the next few posts in this series, we’ll continue in order:
Line, Shape, Form, Color, Texture, Space, Value
Today we’re focusing mostly on form, with a little introduction to value (lights and darks), because value is one of the easiest ways to make form “pop.”
⸻
What is form?
A shape is flat.
A form is three-dimensional.
Form has height, width, and depth—so it takes up space.
This is a helpful way to explain it to young artists:
A circle is a shape… but a sphere is a form (like a ball).
A square is a shape… but a cube is a form (like a block).
A triangle is a shape… but a cone is a form (like an ice cream cone).
A rectangle is a shape… but a cylinder is a form (like a can).
At Art Studio 760, we love this moment because students suddenly realize:
“I already know these shapes… I’m just turning them into forms!”
⸻

The easiest way to start: turn shapes into forms
Here’s a parent-friendly way to guide your child:
Step 1: Start with the shape
Draw a circle, square, or triangle using light pencil marks.
Step 2: Add the “depth”
To make it feel 3-D, we add a second shape slightly behind the first, then connect the corners or edges.
For a cube: draw a square, then another square slightly behind it, then connect the corners.
For a cylinder: draw a circle (or oval), add a second oval below it, then connect the sides.
For a cone: draw a circle/oval for the base, then connect the edges up to a point.
For a sphere: keep the circle, and we’ll make it feel round using shading.
A quick note about “perspective” for kids
Perspective can be a big word, but for young artists we keep it gentle:
“Things that go back in space look a little smaller.”
That’s enough perspective to help a cube or a road, a table, or a building start to feel more realistic.
⸻
Introducing value: shading makes form look real
Once the form is sketched, this is where kids get excited: shading.
Value
Value means how light or dark something is.
Even a very basic understanding of value helps kids create the illusion of 3-D.
Here’s the kid-friendly rule we use:
Pick one light source.
Then decide: which side is lighter, and which side is darker?
A gentle shading plan for young students
You can keep this very simple:
1. Light side (closest to the light)
2. Medium side (turning away from the light)
3. Dark side (farthest from the light)
4. Shadow on the table/floor (this is what makes it feel grounded)
Kids don’t need perfect blending—just a clear difference between light and dark.
⸻

Try this at home: the “Flashlight Test”
This is a fun one for an at-home art space:
Put a small object on a table (a ball, a cup, a toy block).
Shine a lamp or flashlight from one side.
Ask your child:
Where is it brightest?
Where is it darkest?
Where is the shadow falling?
Then do a quick drawing using:
big shapes first
form next
shading last
⸻
Teacher tip: model one form at a time
In a classroom, it helps to model just one form (like a cube) step-by-step on the board and let students practice. Once they feel success with one form, they can apply the same idea to lots of objects.
⸻
Coming next in the series
Next up, we’ll continue through the elements in order:
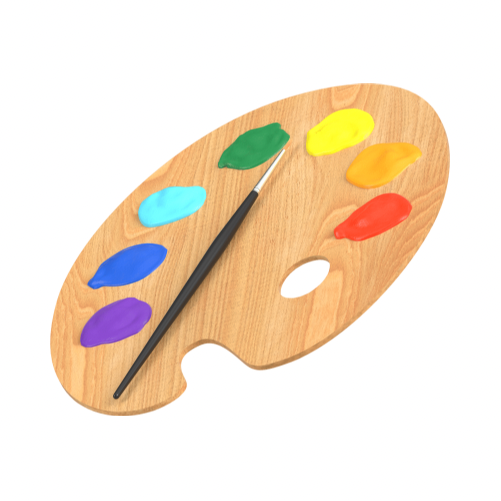
After form, we’ll explore color—and how color choices can change mood, focus, and feeling in an artwork.
And as we keep going, we’ll return to value again with more detail (especially value scales and shading techniques), because value is one of the most powerful tools for making observational drawings look three-dimensional.
Want your child to keep building these skills with guidance and encouragement?
At Art Studio 760, students learn how to turn shapes into forms, understand light and shadow, and draw confidently from observation—step by step, at their own pace.
Kids can even choose their area of study during class, whether they’re excited about drawing, painting, or sculpture.


Comments